Sarah Robinson | Ceiling and Drywall Solutions
How to Repair Drywall Before Painting

So, you've decided to give your home a fresh new look with a new paint color. While painting is probably the easiest and most cost-effective way to instantly update your space, it's not as simple as just slapping the new paint on the walls right away. The key to a quality paint job that looks flawless and is meant to last is prep work. More specifically, you need to make sure that your walls have been properly repaired before you can start applying paint.
How to repair drywall before paintingAfter you take down any artwork or decorative items that are hanging up, you'll want to take a close look at the condition of your walls. Usually, you'll find a few small flaws just from everyday wear and tear. This typically includes things like small dents, bubbles, scrapes, nail pops, small holes from hanging pictures, etc. However, you might also have a bit more extensive damage, like larger holes, dents from doorknobs, or caulking cracks in the corners.
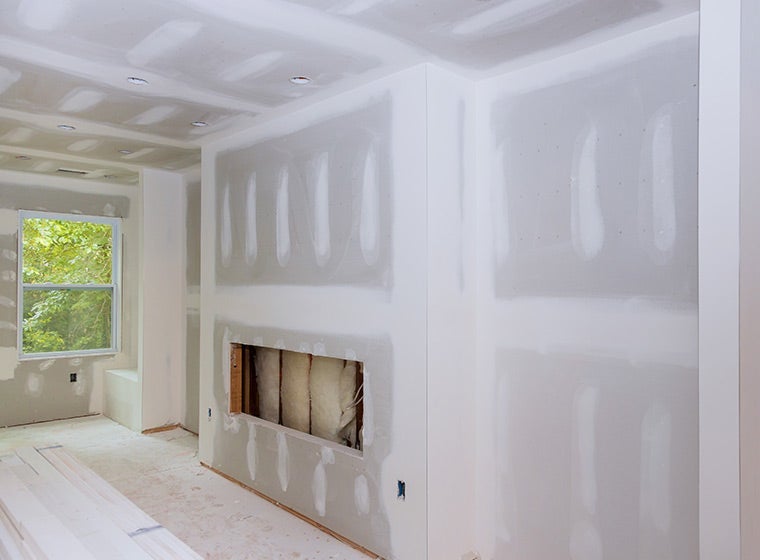
Sometimes these imperfections might be hard to spot at first, but you'll definitely see them if you paint over them without fixing them first. To help make sure you get them all, you can hold a utility light against the wall and slowly move it along to help highlight any hard-to-see spots. When you find a spot, circle it with a pencil (not a pen or marker!) so you know it's a spot that needs repair work.
The first step to repairing drywall for painting is to fill all those holes, dents, and gauges. For any small ones, it's a fairly quick and easy process. Use a pre-mixed or mix it yourself drywall compound and fill the necessary areas, making sure to smooth the compound out. It's a good idea to use two coats, just to be sure it's evenly filled. Then, allow the compound to dry and go over the area with sandpaper to smooth it out.
For larger holes, the process is a bit more complex. If the hole is under 6 inches in diameter, you can use an adhesive drywall patch over the hole, and then apply a layer of drywall compound over it. Allow the compound to dry, then apply a second coat. Once that's dry, you can sand it gently to get a smooth finish.
Once you're done sanding, vacuum up any dust and wipe down the walls with a damp cloth to ensure all the dust is gone. Allow the walls to dry, and you're ready for your primer coat!
How to prep drywall before painting
It's a good idea to wipe the walls with a dry microfiber cloth one more time to make extra sure you get rid of any last dust particles that might mess with your paint finish. Make sure you do this step right before you're about to apply your primer coat. Next, apply the coat of primer-you can apply it just like you do with regular paint. Make sure to get an even coat and allow it to completely dry.
Once the primer is dry, you can run your hands along the walls to check for any rough spots that might need to be sanded down a bit more. Once you're sure the walls are smooth, you're good to get started with your new paint color!
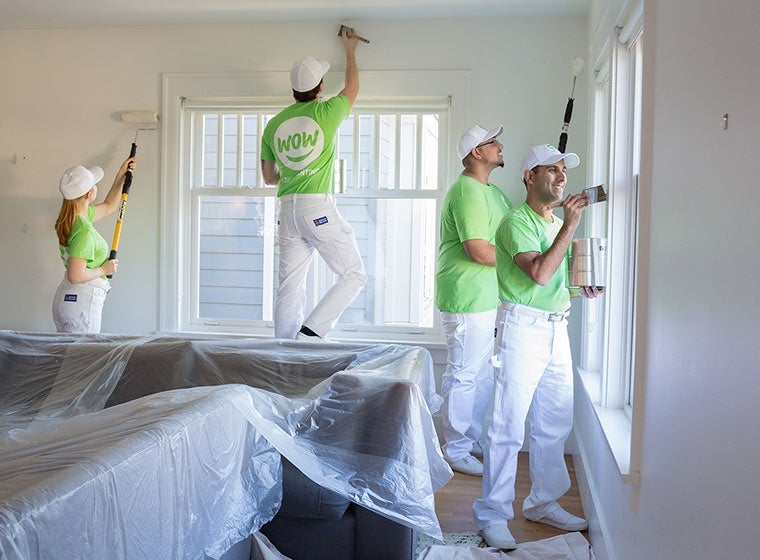
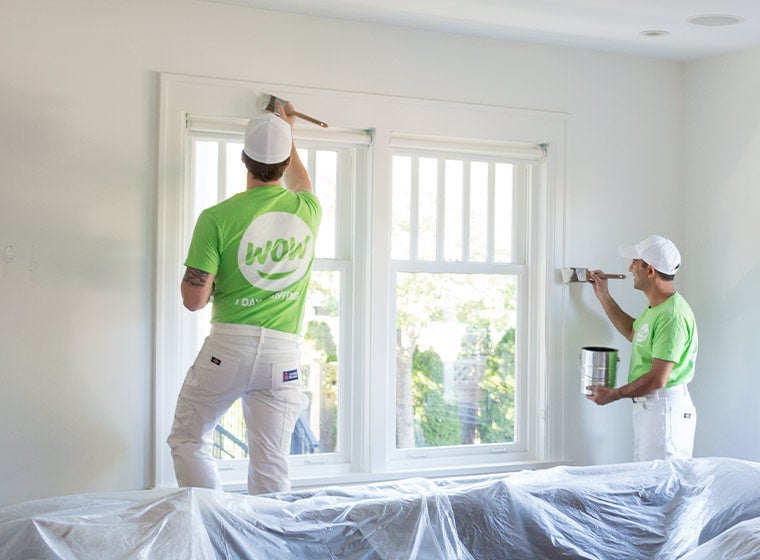
While painting walls on your own might not seem too bad, there's a lot of prep work involved and it can take time to do on your own. If you want to get the job done properly and quickly, it's always a good idea to hire professional painters to take care of everything for you! At WOW 1 DAY PAINTING, we handle all the prep work and painting. You'll get a flawless finish, and you'll have a brand new space in just a day! If you're ready to experience the 1 day difference, book your free, no-obligation estimate today!